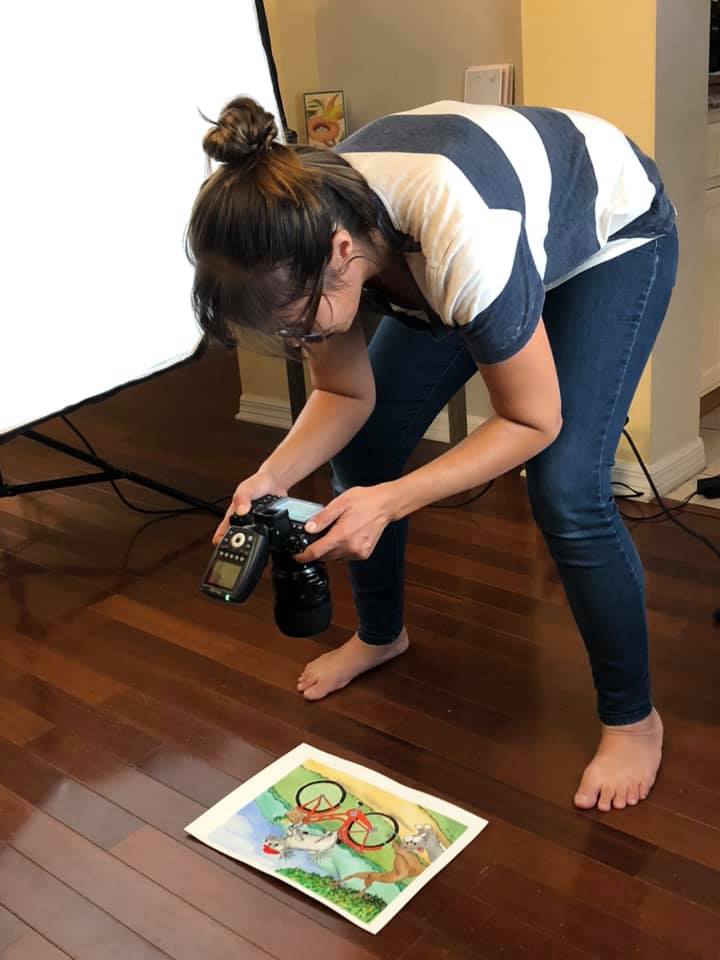
 We have a talented guest writer this week, professional photographer Stephana Ferrell, owner of The Inspired Storytellers. Stephana recently took the photos of the watercolor art for our upcoming book Joyride. She has some great tips on how to photograph art for children's picture books. Five Tips for Photographing Art for Picture BooksCongratulations on being so close to publishing! You've got colorful illustrations in hand and there is one step between where you are and approving a layout- getting your tangible prints into digital form. There are two industry standards to making this happen, and this article will cover ways to ensure success when photographing your illustrations. Let's get into it! Tip One: Even Out Your LightingLighting must be evenly spread across the surface of the illustration (not pointed down as this can cause reflections or hot spots). It’s best to use a light source that is close to daylight or “white” color (4500-5500 Kelvin), so incandescent and fluorescent lights should be avoided. Tip Two: Keep Your Position ConsistentCamera distance and angle should be as consistent as possible between pages to ensure you aren’t impacting the scale of your illustrations. Use a tripod when possible or observe your positioning and ensure you keep it the same. Tip Three: Watch Out for DustClean your lens (and sensor, if it applies) before taking the pictures. I like to test the cleanliness of the lens by taking a picture of a white wall or a blue sky. Dust and other spots that you need to address will easily show themselves. Tip Four: Get Rid of Camera Shake
Tip Five: Editing is KeyEditing is just as important as the images you create. Keep in mind which pages will end up being full spreads and crop your images to the right bleed size, ensuring anything that needs to line up does. The final printing color profile also needs to be considered while when making any tweaks to your image files. Ensure your screen is calibrated. Contrast, Exposure, and Tone/Saturation changes you make on screen may not render the same way when it goes to print. Now that you have all of this information as your guide, you are ready to get those illustrations into digital form. Here's a quick recap to follow as you're photographing:
2 Comments
1/21/2020 05:39:46 pm
I admit that I love editing photos especially if I am about to post it on my social media account. Well, who doesn’t love editing, anyway? If there are things you want to improve on a certain photo or you want to create a different appeal on the photo you captured, you are free to do it! Just make sure that you have the right tools with you or else the editing process will surely fail! Nowadays, it is a skill that you need to learn because you can land a job of your editing skill is lit! 1/3/2023 11:08:00 am
Stephana recently took the photos of the watercolor art for our upcoming book Joyride. She has some great tips on how to photograph art for children's picture books. Thank you for sharing your great post! Leave a Reply. |

AuthorArielle Haughee is the owner and founder of Orange Blossom Publishing. Categories
All
|

 RSS Feed